I’m definitely not a morning person. In the morning, I stay in bed as long as possible. As a result, I have to rush everything later. The same applies to makeup. The effect? I leave the house with clumpy eyelashes hastily covered in mascara. I was fed up with this and started searching for a solution. That’s when I came across lash lift and lamination kits for home use – they ensure beautiful lashes for up to 8 weeks. I had to try it myself! This is how my ranking of the best kits for beginners came to be.
Lash Lift and Lamination – What Is It?
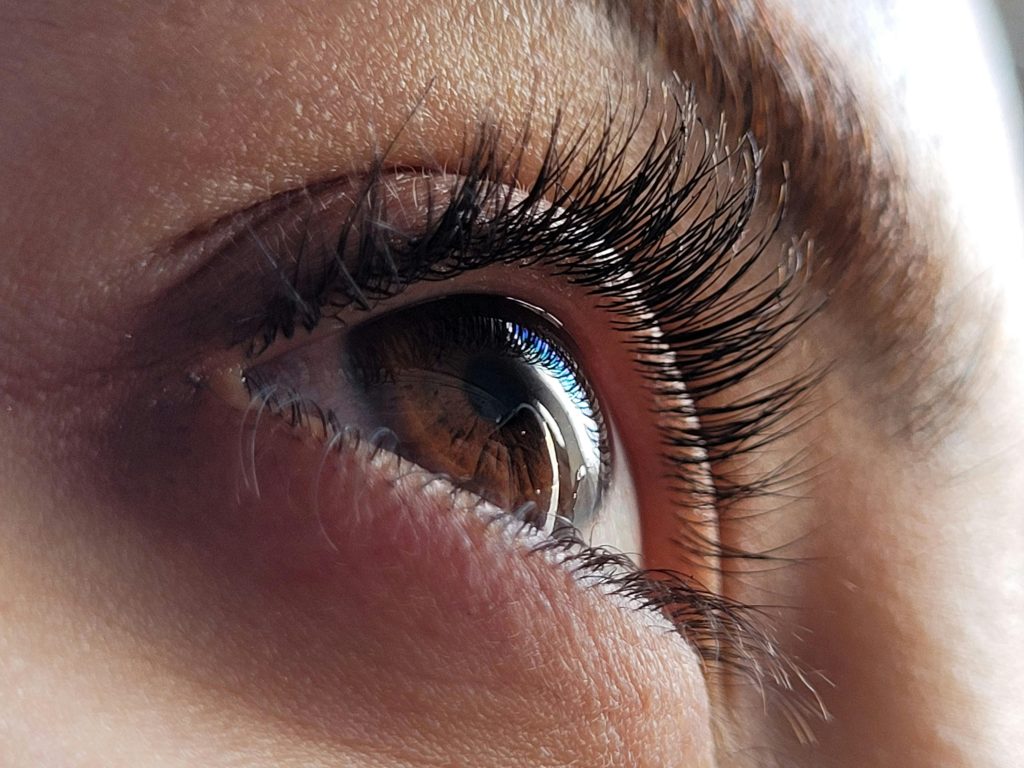
Although lash lift and lash lamination are two different beauty treatments, they are most often done one after the other – both in beauty salons and at home. The goal of the lash lift is to curl the lashes, giving them a beautiful curl and making them look longer. Lash lamination involves nourishing and moisturizing the lashes, which significantly improves their condition. By combining these two methods, natural lashes become not only beautiful but also healthy.
My Ranking of the Best Lash Lift and Lamination Kits for Home Use
As a total beginner in lash lamination, the simplicity of the kit was crucial for me. I was looking for a set that contained all the necessary products and tools. Of course, I also considered the quality and durability of the results. I tested and reviewed 5 products to create a comparison and help other beginners in this field. Check out my results below.
1. Nanolash lash lift and lamination kit
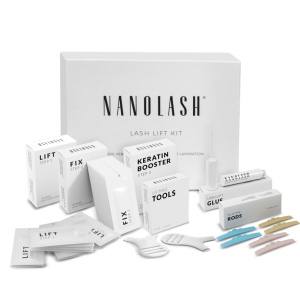
Nanolash Lash Lift Kit is my favorite. It contains all the necessary products for DIY lash lift and lamination.
It’s free of any unnecessary accessories or extra tools that might be confusing.
Contents: 3 pairs of silicone rods (S, M, L), activator (10 sachets), neutralizer (10 sachets), Keratin Booster (10 sachets), glue (5 ml), and 3 lash combs.
The instructions are clear, and the tutorials on Nanolash’s official website are very helpful. Despite having no experience, I had no problem performing the lash lift and lamination. All products were described and numbered in an elegant white box, which prevented any confusion. I knew exactly which product to use at any given moment. I should also mention that all the products apply easily.
The results absolutely amazed me. I had no idea a beginner could achieve such professional results! My natural lashes were beautifully curled and maximally lengthened, making my eyes appear bigger. The lashes were precisely separated, and my lash line looked thicker – I didn’t even know I had that many lashes! I also noticed an improvement in the condition of my lashes – they became flexible and shiny. This is undoubtedly thanks to the beneficial ingredients in Nanolash products, such as keratin, arginine, lanolin, panthenol, silk, and natural oils. The effects lasted about 8 weeks. Moreover, this kit lasts for up to 10 individual lash lifts, making it very economical.
2. Brow&Lash Protein Reconstruction System Zola
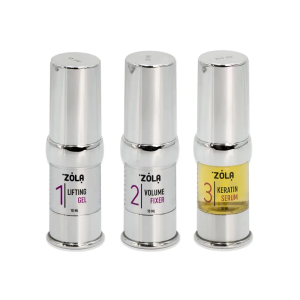
The Zola lash lift and brow lamination kit takes second place because it’s incredibly easy to use.
In this case, there are no silicone rods or applicators, just 3 lifting products applied just like mascara with a brush. I’m sure every woman can handle this without any problem.
Contents: Protein Strong Lifting, Protein Fixer, and Protein Care.
The Zola lash lift kit is ideal for beginners. Another advantage is the ability to laminate eyebrows with the same products, making it a 2-in-1 product.
However, be aware that the results with this kit are not as professional and long-lasting as with the Nanolash kit. The lashes are curled without the use of silicone rods, so the curl is not as noticeable. Nevertheless, I was very satisfied with the Protein Reconstruction System by Zola, as ease of use was my top priority.
3. Fleeky Lashlift Kit
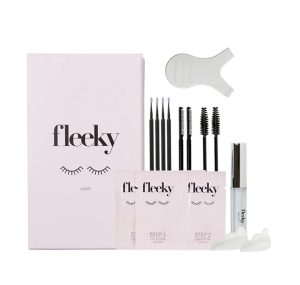
The Fleeky Lashlift Kit takes the third place in my ranking.
It’s the cheapest kit, as it allows for only 2–4 lash laminations. However, for me, efficiency wasn’t the key factor.
Contents: 3 pairs of silicone rods (sizes S, M), Lash Lift (2 sachets), glue, 2 brushes, 2 combs, a lash-separating tool.
The Fleeky Lashlift Kit contains all the necessary products and tools and comes with no unnecessary accessories, which I appreciate. I must also mention that all products are vegan and cruelty-free, which is a huge plus for many people. Like the Nanolash kit, Fleeky provides helpful tutorials on their official website. I had no issues with performing the lash lift and lamination. The products apply easily, and the applicators make the process smoother.
The results were very good – my lashes had a nice curl and looked longer. The lashes were perfectly separated, creating the impression that I had more lashes. I enjoyed these results for almost 8 weeks.
4. Thuya Lash Lift Kit
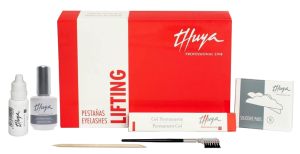
The Thuya Lash Lift and Lamination Kit is a 2-in-1 product, like the Zola kit. It allows you to laminate and curl not only lashes but also brows. The kit contains only the necessary products, which I liked. The products come in larger quantities, making it an efficient kit.
Contents: Silicone rods (M), perm gel (15 ml), neutralizer (15 ml), glue (15 ml), and a wooden pick.
The downside, in this case, are the silicone rods. Firstly, there’s only one size available, which was problematic for me – I couldn’t fit them to my eyelids properly. Secondly, they felt a bit harder than those in the Nanolash or Fleeky kits. Despite this, I managed to perform the lash lift and lamination.
Due to the improper size of the rods, I didn’t get the desired curl. However, the results were satisfactory and lasted for about 8 weeks. My lashes were lifted, visually longer, and slightly thicker, enhancing my gaze.
5. Elleebana Lash Lift – Starter Kit
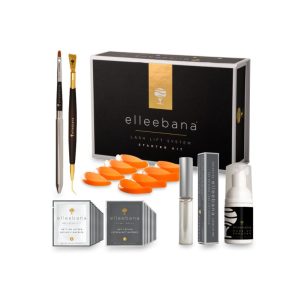
The Elleebana Lash Lift is a professional lash lift kit, which is why it takes the last place in my ranking.
In my opinion, it’s a good option for professional beauticians, but not necessarily for beginners who are just starting out with at-home lash lamination.
Contents: Silicone rods, activator (15 sachets), neutralizer (15 sachets), lash lifting tool, remover, glue with brush, metal applicator.
The kit’s contents are not overly extensive – just all the products are necessary for performing the lash lift and lamination. There’s also an illustrated instruction manual included. However, I did encounter some difficulties using the kit – perhaps because Elleebana Lash Lift was the first lash lift kit I tested.
The results were good, my natural lashes were curled and looked longer, which made my eyes appear bigger. The lash line became slightly thicker, which I really liked. However, the Elleebana kit is very expensive, making it not the best option for beginners.
Lash Lift and Lamination – FAQ
I’m aware that many of you have no experience with lash lift and lamination – just like me before I decided to test several kits. So, you probably have many questions and doubts. Below, I answer the most frequently asked questions about the lash lift and lamination.
1. How to Prep Your Lashes for the Lash Lift and Lamination?
Preparing your lashes is crucial. Before the lift and lamination, the lashes must be thoroughly cleaned to be free from makeup and sebum. Use oil-free makeup removers for this purpose. It’s best to use a professional lash shampoo with a neutral pH.
2. How to Perform the Lash Lift and Lamination Step by Step?
I recommend starting with one eye. After removing makeup and cleaning your lashes, choose the right size silicone rod and place it on the upper eyelid. Apply glue to it and comb the lashes onto the rod, separating them with precision. Then, you can apply the lifting products. Apply the first product and remove it after the time indicated in the instructions. Proceed the same way with the other formulas. Finally, remove the silicone rods and comb the lashes gently.
3. How Often Can You Do the Lash Lift and Lamination?
Most manufacturers recommend repeating the lash lift and lamination every 6–7 weeks. However, it all depends on the chosen kit and the durability of the previous treatment results. It’s important not to perform the lash lift earlier than 4 weeks after the previous one.
4. Can You Apply Mascara After the Lash Lift and Lamination?
Yes, you can apply mascara following the lash lift and lamination. In fact, mascara applies even better. However, it’s important to wait about 12 hours after the treatments before doing so.
5. Do Lashes Require Special Care Following the Lash Lift and Lamination?
No, following the lash lift and lamination, the lashes don’t require special care. However, remember to avoid moisture and high temperatures (e.g., hot baths, sauna, etc.) during the first 24 hours after the treatment.
